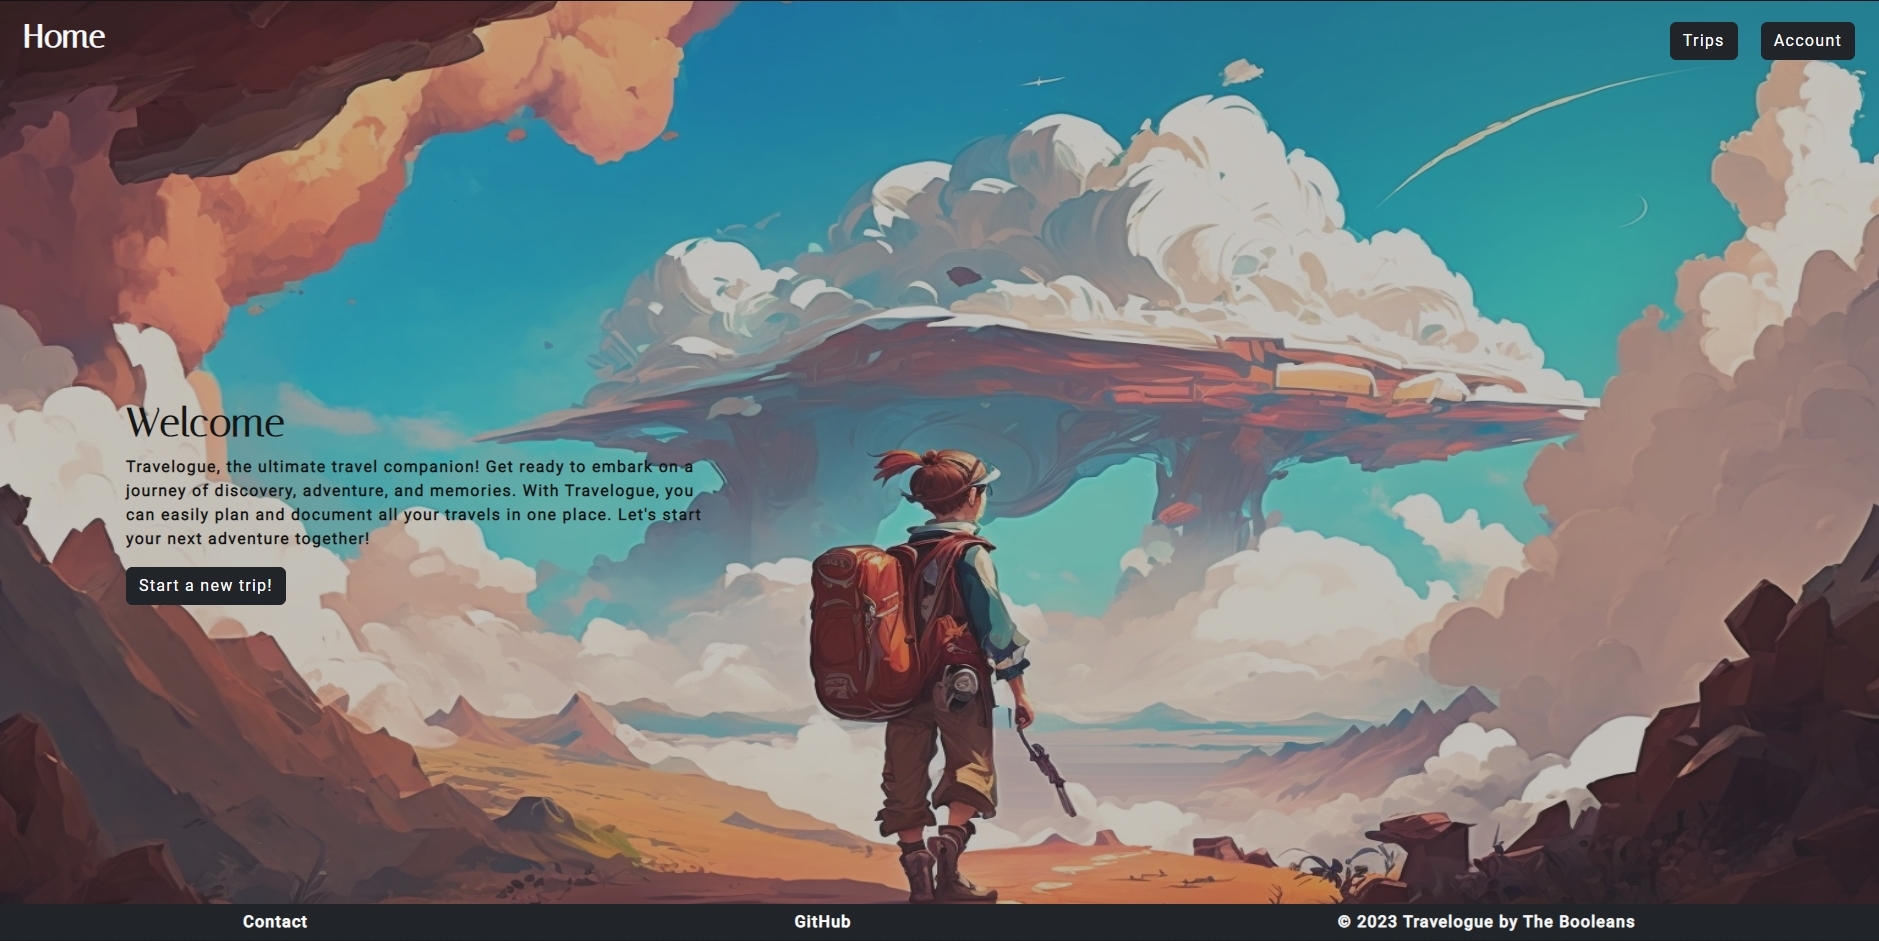
- Link to site
- Travelogue is for people that enjoy to travel but mainly for my partner who is a flight attendant so she can plan and track her trips!
Django
PostgreSQL
Python
Bootstrap
Heroku
- Install the virtual environment: Open your terminal and run this to install the virtualenv package.
pip install virtualenv
- Create the virtual environment: Run the following command in your terminal, replacing myenv with the desired name of your virtual environment:
virtualenv myenv
- Activate the virtual environment: Run the following command in your terminal:
source myenv/bin/activate
- Once the virtual environment is activated, any packages you install using pip will be installed in the virtual environment and will not affect other projects on your system. To deactivate the virtual environment, simply run
deactivate.
- Install dependencies: Navigate to the project directory and run this command to install all the required dependencies.
pip install -r requirements.txt
-
Configure the settings: Open the settings.py file and make sure the database, email and other configurations are set up properly.
-
Run migrations by running this command to create the necessary tables in your database.
python manage.py migrate
- Start the development server: Use this command to start the development server and access your application at http://localhost:8000.
python manage.py runserver
All you have to do is Sign In/Up or click to start your first trip.
You can choose to create an account with Google or Sign in if you are an existing user.
You can also choose to sign up without connecting your Google account.
Once you enter the Destination, Start and End Dates you can then begin planning.
There is a section to organize your budgets by category, as well as a section to create lists of your liking.
e.g. Reminders, Things to Bring, Activities to do
- Trip Weather
- Google Calendar
- Currency Exchange
- Google Maps


